Through the lens

Published 2023-06-09.

smc Pentax-M 1:1.4 50mm Repair Guide

About

smc-pentax-m-50mm-f14.jpg

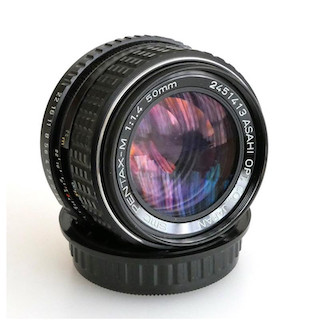
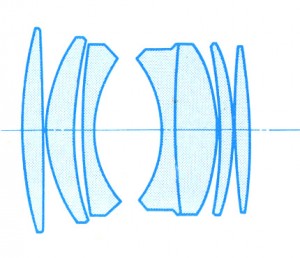
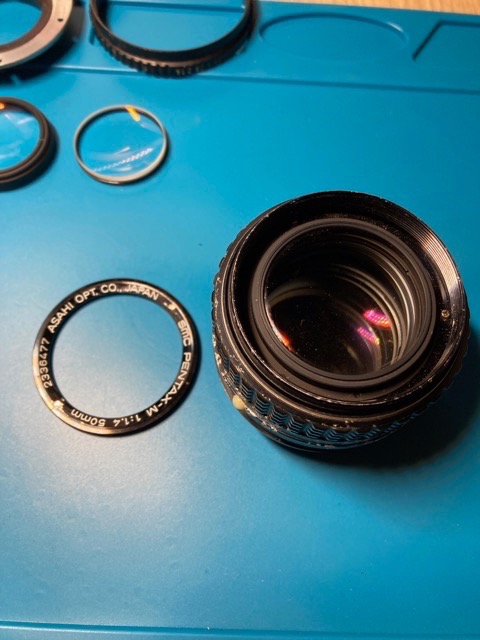
The SMC Pentax-M 50mm 1:1.4 is a manual focus lens produced between 1977 and 1984 for the K mount. It's an optical design with 7 elements in 6 groups, 8 aperture blades and 49mm diameter filter thread. The minimal focusing distance is 45cm.

optics_diagram.jpg
Figure 1: Optics diagram for the SMC Pentax-M 1:1.4 50mm.

Disassembly

The disassembly process requires specialized tools, see Photographic Lens Repair for a relation.

Rear disassembly

IMG_1698.jpeg
Figure 2: Unscrew the 5 screws holding the bayonet mount.
IMG_1699.jpeg
Figure 3: Lift the bayonet mount.
IMG_1700.jpeg
Figure 4: Lift this metal ring that holds the aperture control lever.
IMG_1701.jpeg
Figure 5: This ring has two cut-outs of different sizes. Take note of the orientation for reassembly.

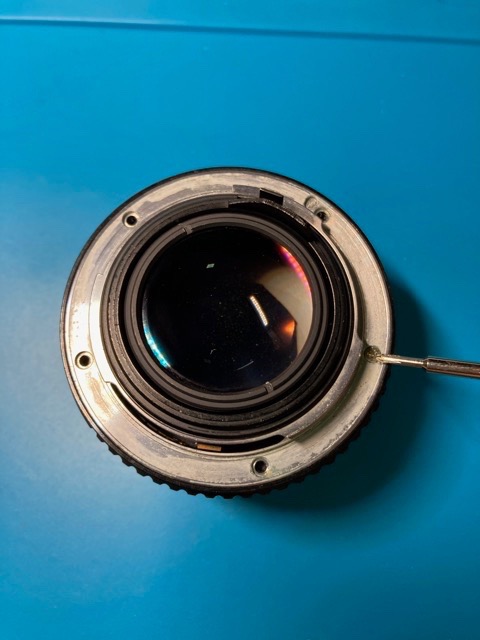
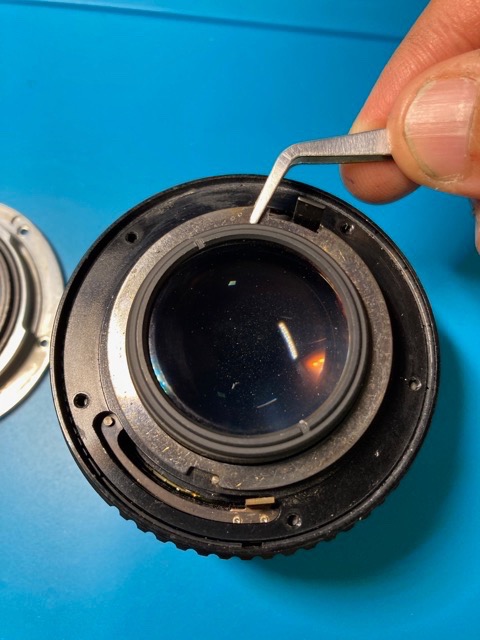
WARNING: If you don't need to repair a jammed aperture ring or completely disassemble the lens, skip the next part.

IMG_1702.jpeg
Figure 6: Next is the aperture ring.
IMG_1703.jpeg
Figure 7: CAREFULLY lift the aperture ring, with the lens in the same position as in the photo.
IMG_1704.jpeg
Figure 8: The steel ball responsible for the aperture ring's "clicks".
IMG_1705.jpeg
Figure 9: CAREFULLY remove the steel ball with tweezers. I recommend sticking it to duct tape to avoid losing it.

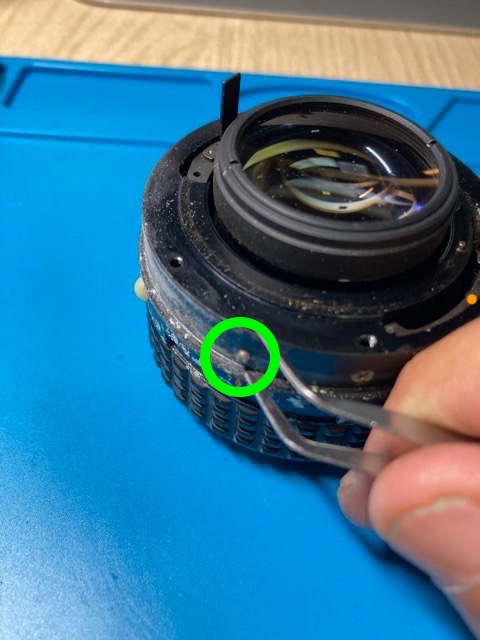
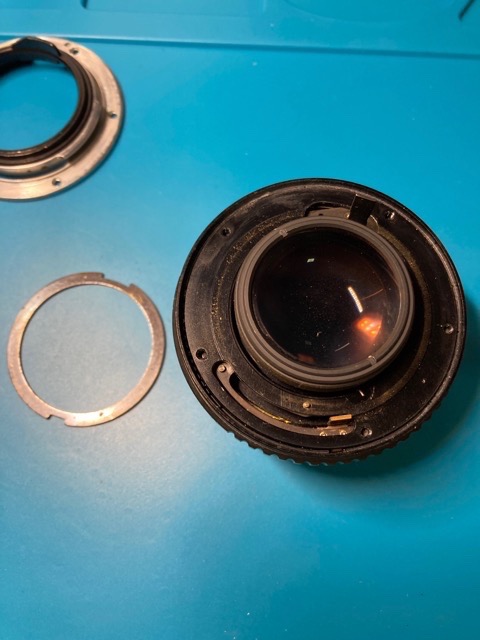
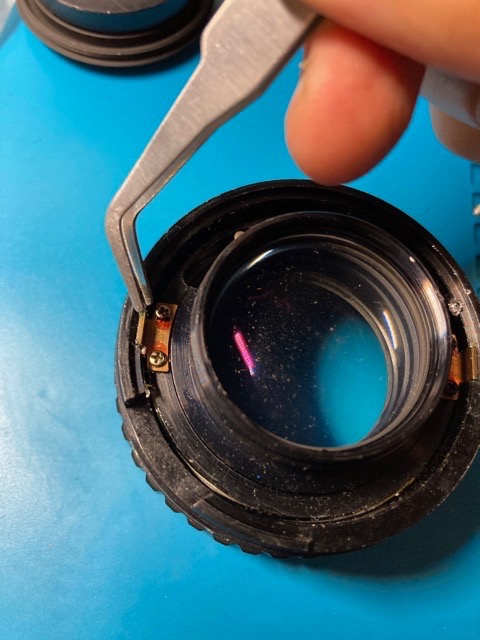
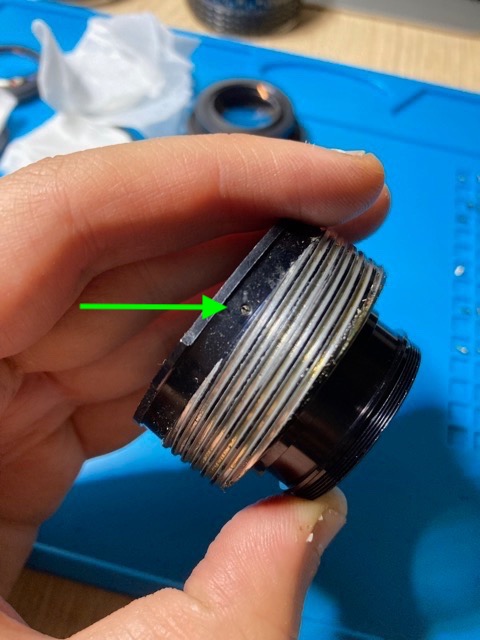
This tiny steel ball sits halfway in a hole between the aperture ring and main barrel. This ball is responsible for the "clickness" of the aperture ring, and without it the aperture setting will not function correctly anymore (it will not stay put on the selected f-stop due to the force of the spring from the camera acting on the aperture control lever)

IMG_1706.jpeg
Figure 10: Locate the two notches on the retainer ring. Unscrew with the lens spanner in the counter-clockwise direction.
IMG_1707.jpeg
Figure 11: The retainer ring will come apart with the backmost lens element. You don't need to disassembly it further.
IMG_1708.jpeg
Figure 12: Locate the two notches on the second backmost retainer ring. Unscrew with the lens spanner in the counter-clockwise direction.
IMG_1709.jpeg
Figure 13: Lift the retainer ring.
IMG_1710.jpeg
Figure 14: The lens element sits flush inside the barrel. CAREFULLY turn it upside down onto a microfiber cloth.
IMG_1711.jpeg
Figure 15: The lens element should fall down. If it doesn't, tap gently on the barrel. Take note of the element orientation inside the barrel.

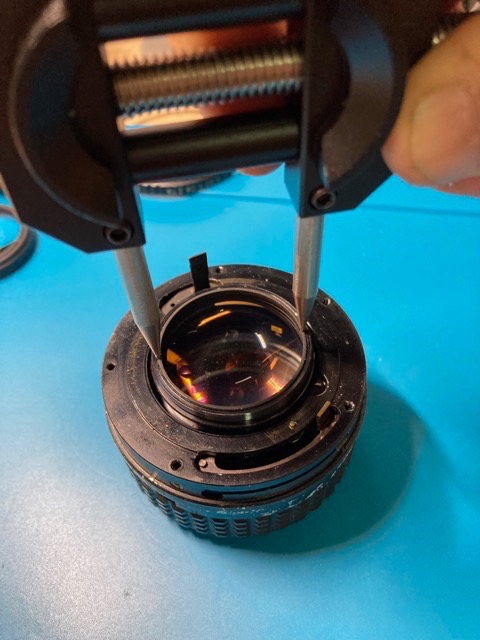
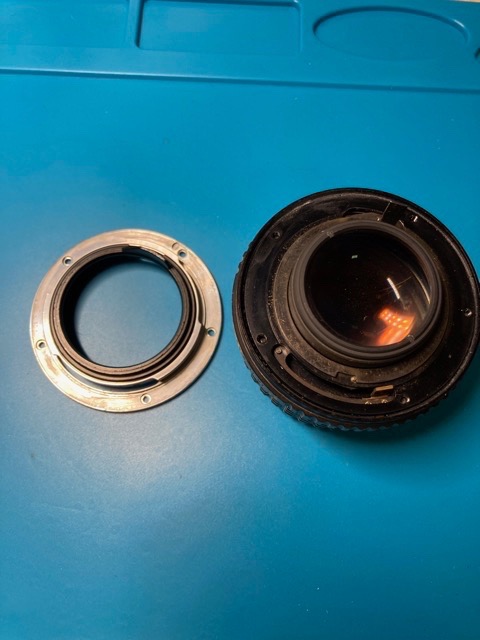
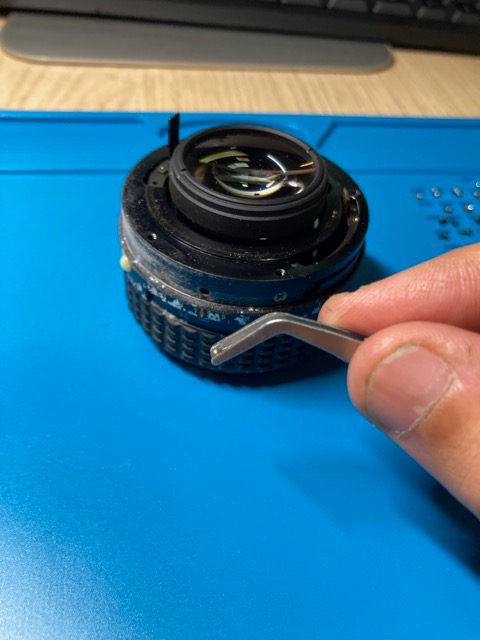
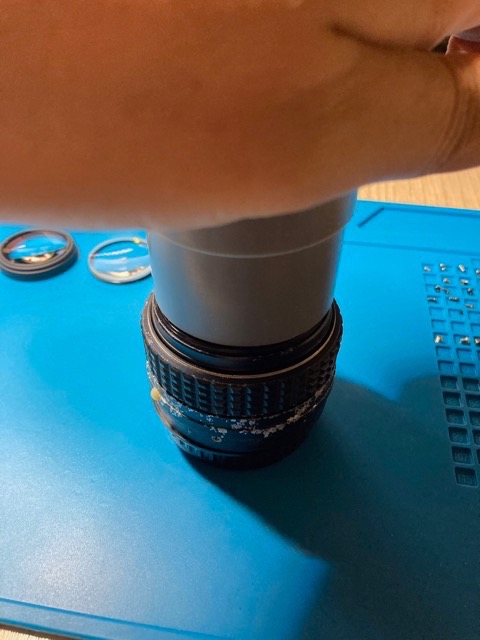
If you have the suction cup tool, this is a good time to use it.
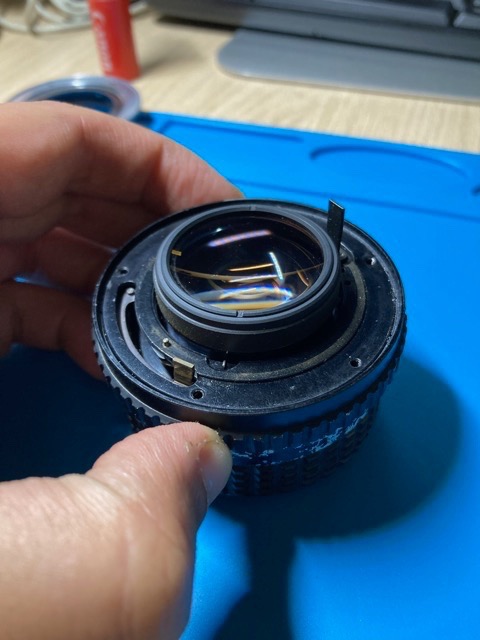
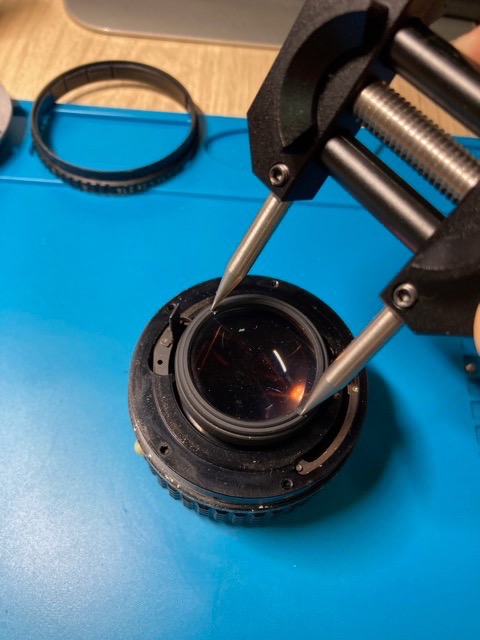
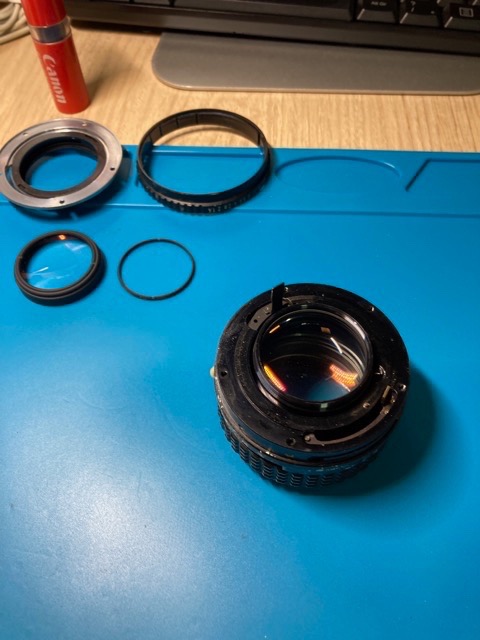
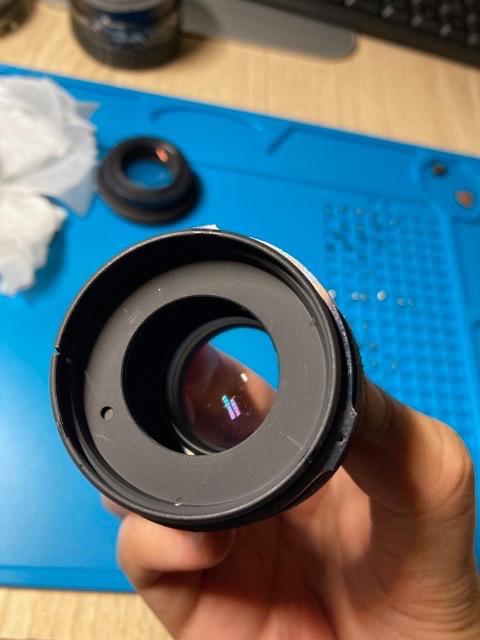
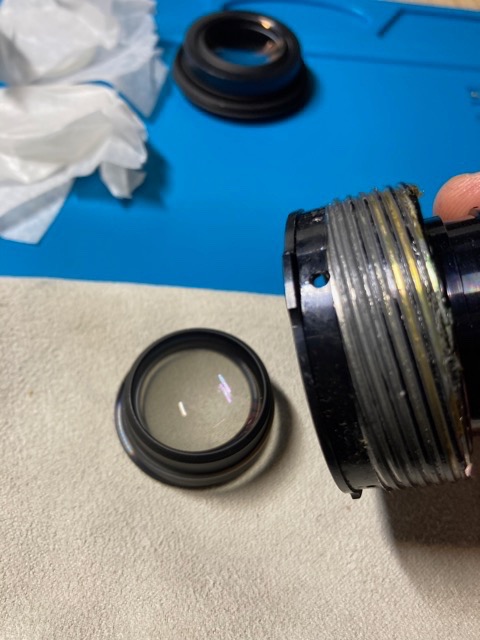
Front disassembly

IMG_1712.jpeg
Figure 16: Use the rubber lens tool (49mm) to unscrew the nameplate (the frontal ring with the model name) in the counter-clockwise direciton.
IMG_1713.jpeg
Figure 17: Lift the nameplate to reveal the frontal subassembly.
IMG_1714.jpeg
Figure 18: The frontmost retainer ring does not contain notches for the lens spanner. Simply unscrew it with your fingers.
IMG_1715.jpeg
Figure 19: CAREFULLY turn the barrel upside down, and the retainer should fall down with the element inside. Take note of the element orientation (convex side down).
IMG_1717.jpeg
Figure 20: Locate the two notches on the inner retainer ring. Unscrew with the lens spanner in the clockwise direction.
IMG_1718.jpeg
Figure 21: CAREFULLY turn the barrel upside down. The retainer ring should fall down with the element inside. Take note of the orientation (convex side down).
IMG_1720.jpeg
Figure 22: Remove the 3 screws holding the small hood in place and lift it. These screws are very important! You'll use to adjust the infinity focus when reassembling.
IMG_1721.jpeg
Figure 23: Unscrew the inner subassembly holding the third frontal element.
IMG_1722.jpeg
Figure 24: It comes out as one piece. You don't need to disassemble it further.

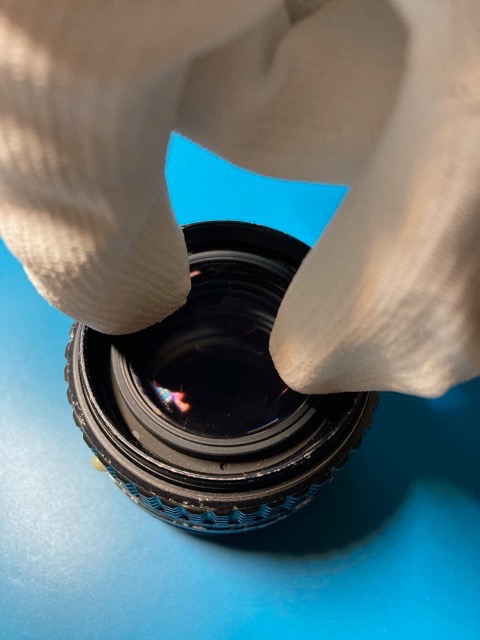
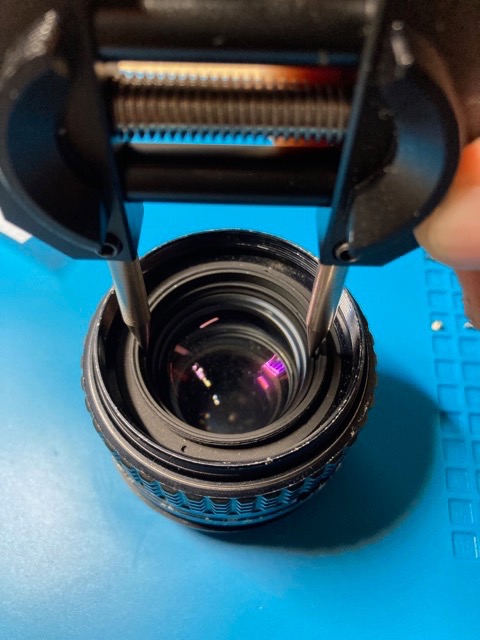
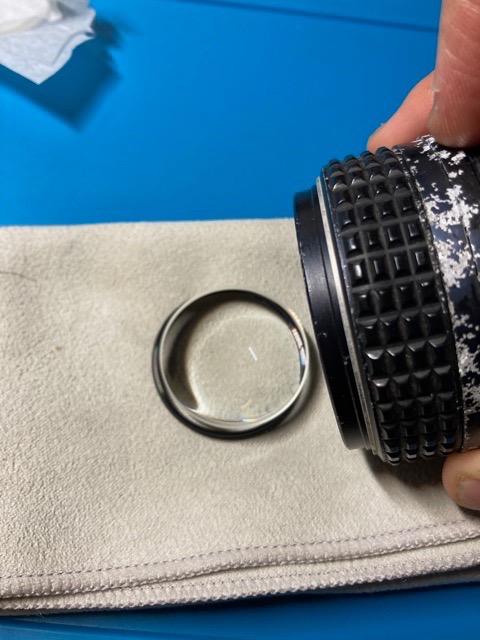
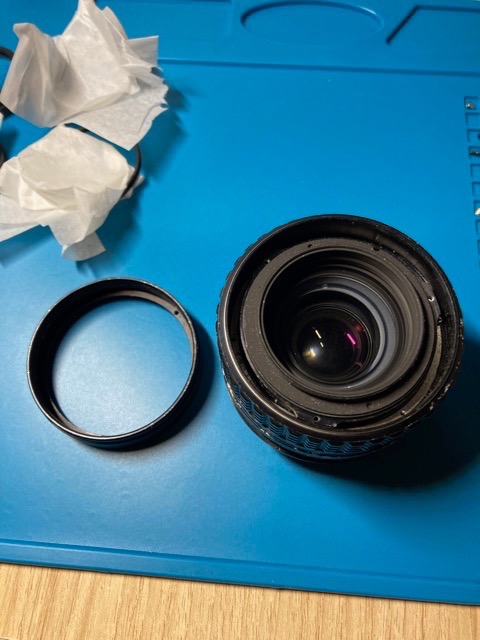
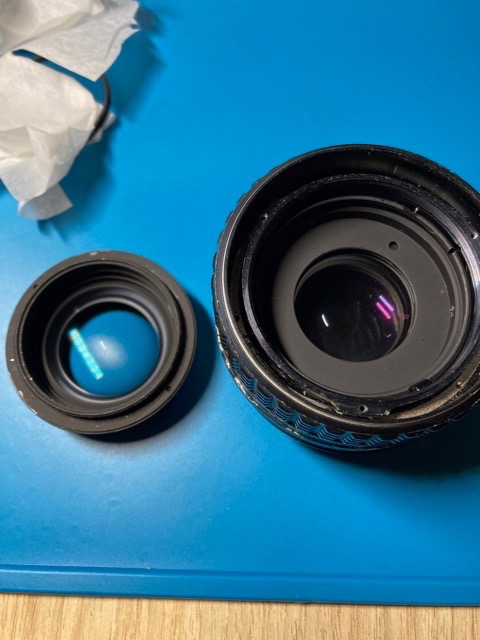
If your only objective is cleaning the glass, you don't need to disassemble further and can skip the following steps.

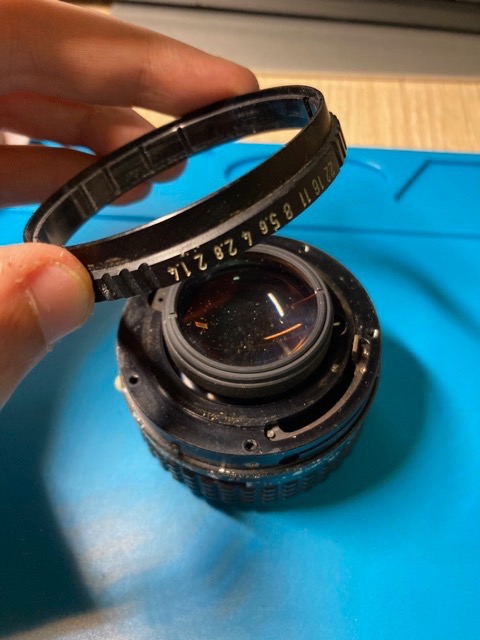
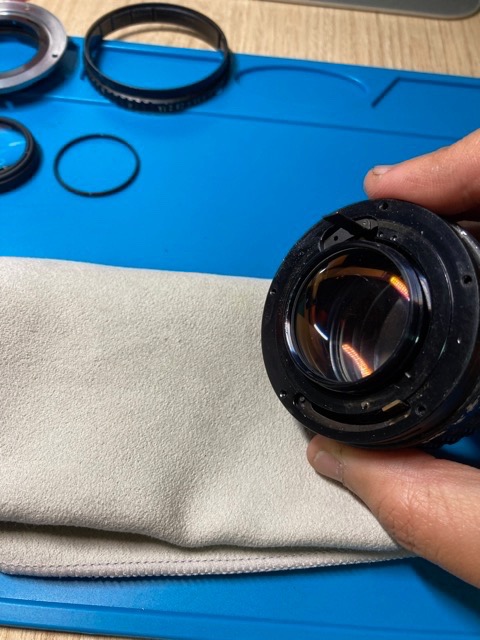
Rear disassembly (continuation)

IMG_1723.jpeg
Figure 25: Remove the 3 screws and lift the outer ring where the aperture control lever is mounted. Take note of the orientation, as the screw that aligns with the aperture lever also aligns with the barrel in a particular way.
IMG_1724.jpeg
Figure 26: Inside you'll see two metal tabs on opposite sides. These connect together the inner and outer parts of the focusing mechanism.
IMG_1725.jpeg
Figure 27: Unscrew and lift it.
IMG_1726.jpeg
Figure 28: Now that the inner and outer parts are disconnected, you can keep turning it until the outer part unscrews completely free.
IMG_1727.jpeg
Figure 29: There are 3 tiny flat head screws on the side that hold the aperture blade mechanism in place inside.
IMG_1728.jpeg
Figure 30: Inside this part sits the aperture blade mechanism. After unscrewing the 3 screws on the side it will come lose.

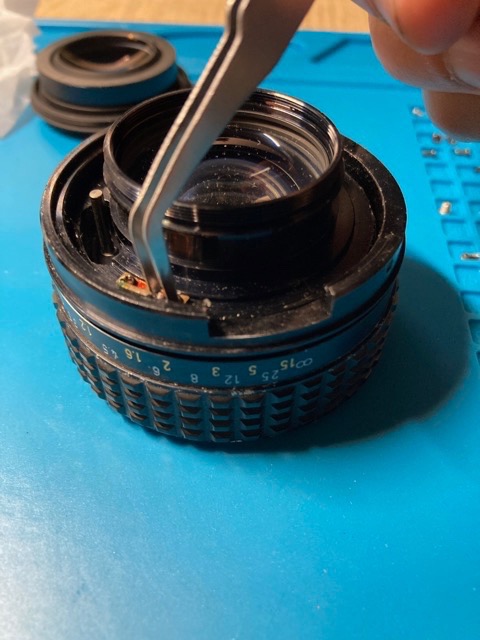
WARNING: The aperture blades are very fragile. To avoid damage during disassembly, first move the control lever to fully-open position and the blades will be protected.

IMG_1729.jpeg
Figure 31: Turn the helicoid piece upside down and the aperture blade mechanism should slide out. If stuck, give a few taps until it slides.
IMG_1730.jpeg
Figure 32: Locate the two notches on the retainer ring of the innermost double element. Unscrew with the lens spanner in the counter-clockwise direction.
IMG_1731.jpeg
Figure 33: CAREFULLY turn it upside down and the double element should fall down. Take note of the orientation (concave side points forward).
IMG_1732.jpeg
Figure 34: The doublet.

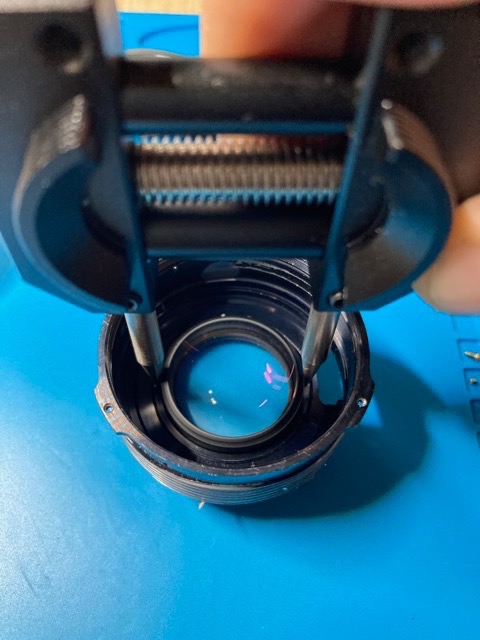
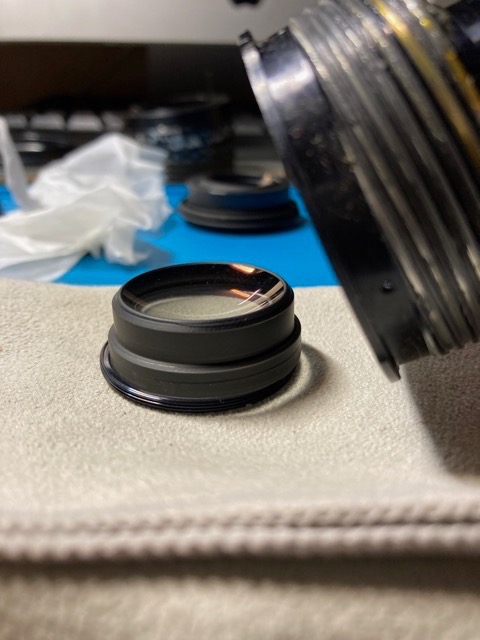
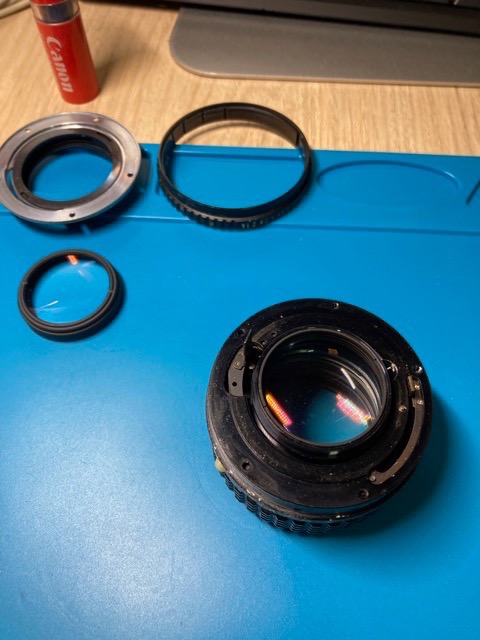
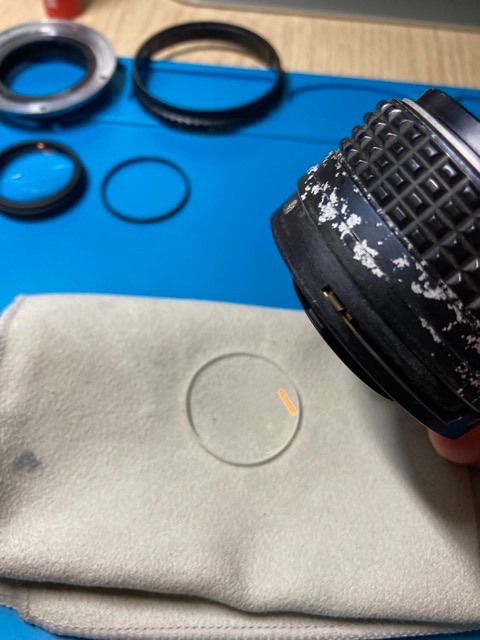
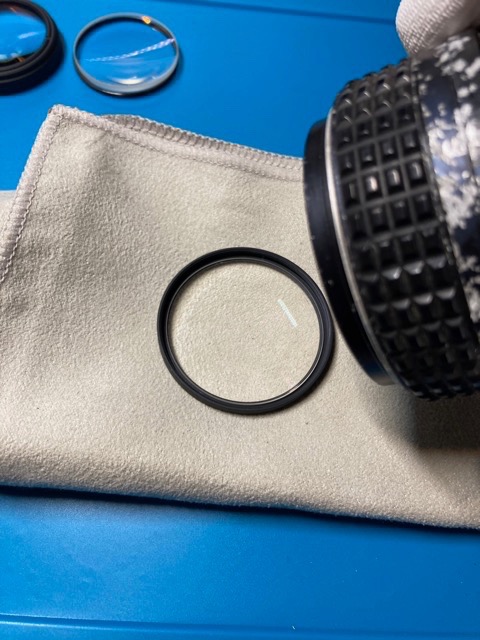
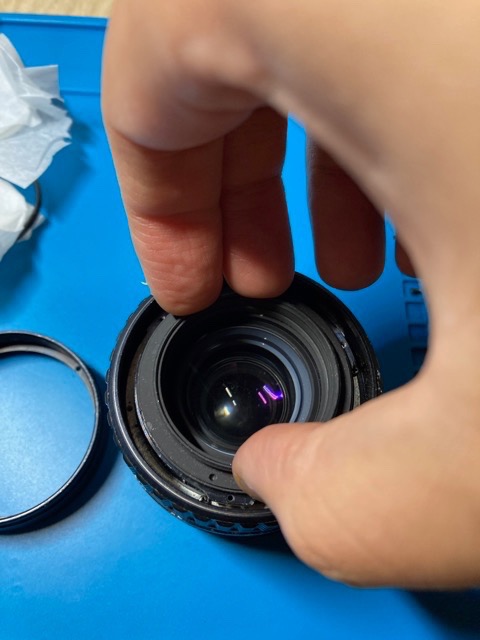
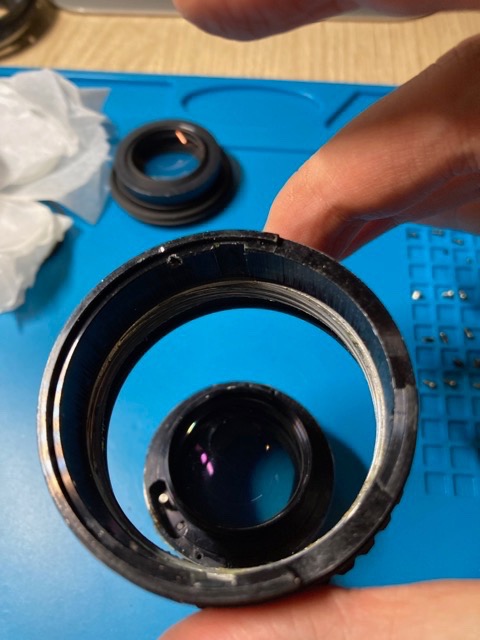
This doublet is prone to getting bubbles / haze over time as the cement between the elements degrades. I'll teach how to separate and re-cement these in the future.

This covers the entire disassembly process.

Reassembly

Reassembly is mostly the same process done backwards, but there are some details regarding alignment of the helicoid and fine adjustment of the infinity focus. I'll be adding this part in the future.

Samples

Here's the quality you can expect from a good-working sample of this lens:

IMGP6603.jpeg
IMGP6604.jpeg
IMGP6607.jpeg

There should be good contrast against background light, adequate sharpness of in-focus areas and good separation between background and in-focus areas. Some chromatic aberration is expected on bright highlights, as this lens doesn't implement an apochromatic group.

© Henrique Alves. Contact me at photo@rique.pro